Before enabling VitXi WebRTC, ensure that your VitalPBX server is configured with a valid Fully Qualified Domain Name (FQDN) and a trusted SSL certificate.
These steps are crucial for secure communication and for WebRTC to function properly within modern browsers.
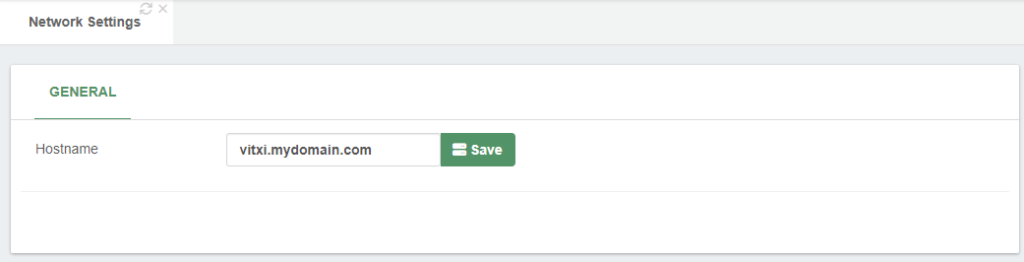
Verify Hostname Configuration #
Your server’s hostname must match the FQDN that will be used to generate the SSL certificate.
- Go to Admin → Network → Network Settings.
- Under Hostname, enter the same FQDN you plan to use for your certificate (e.g.,
pbx.yourdomain.com). - Save your changes.
⚠️ Important: If the hostname and FQDN do not match, the SSL certificate will not validate correctly and VitXi WebRTC may fail to connect securely.
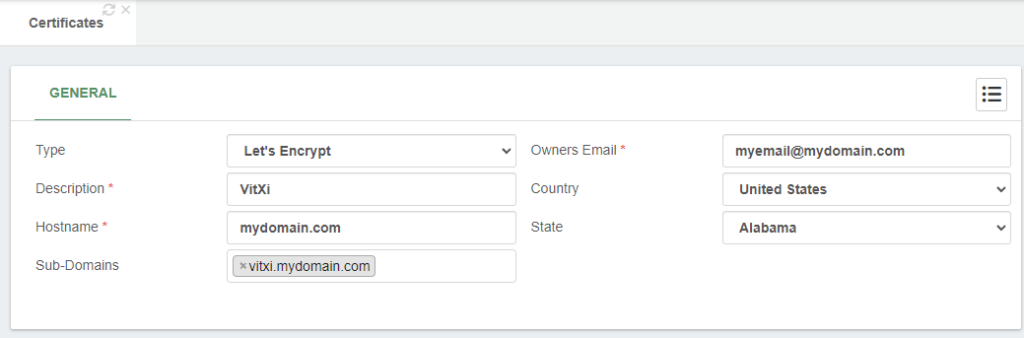
Generate or Install an SSL Certificate #
Once the hostname is set correctly:
- Navigate to Admin → System Settings → Certificates.
- Create or import your SSL certificate.
- You can generate a Let’s Encrypt certificate for automatic validation, or
- Upload a custom certificate issued by your preferred Certificate Authority.
- Save the configuration once the certificate has been created successfully.
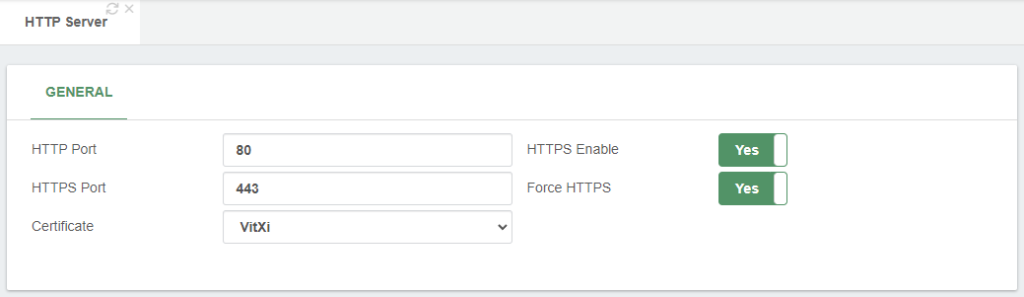
Enable HTTPS for the Web Interface #
Next, configure the web server to use HTTPS:
- Go to Admin → System Settings → HTTP Server.
- Enable the Force HTTPS Connection option.
- Select the certificate you created in the previous step.
- Save and Apply Changes.
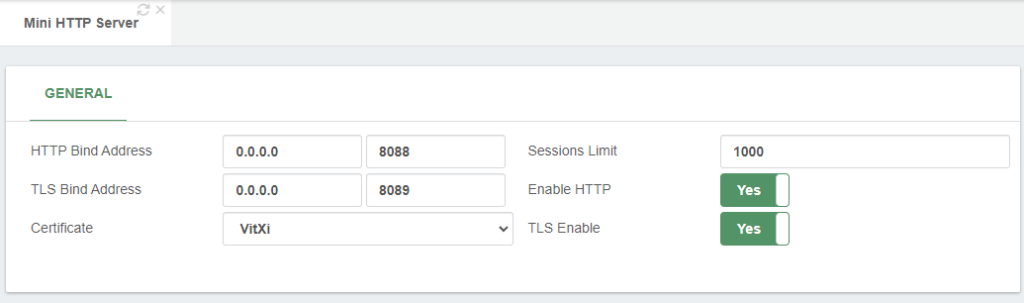
Configure the Mini HTTP Server for WebRTC #
To allow VitXi WebRTC to communicate with PJSIP WebSocket, you must also configure the Mini HTTP Server:
- Navigate to Settings → PBX Settings → Mini HTTP Server.
- Enable the Mini HTTP service (if not already).
- Select the same SSL certificate you generated earlier.
- Save the configuration and click Apply Changes.
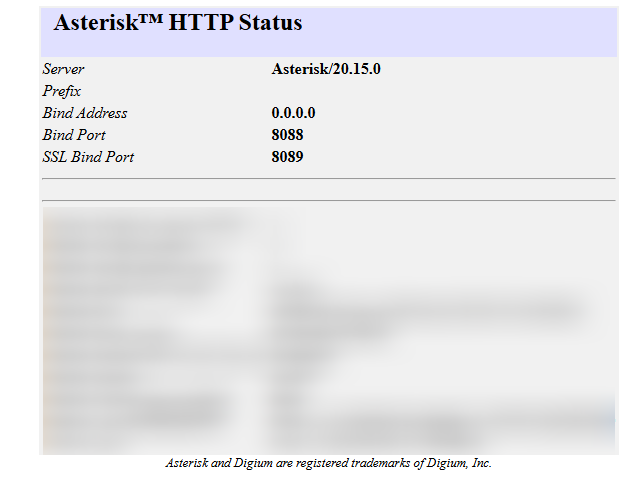
Verify the Mini HTTP Server #
Once configured, you can confirm that the Mini HTTP Server is running properly by visiting the following URL in your browser: https://your-domain:8089/httpstatus
If everything is configured correctly, you should see a status page similar to this:
Troubleshooting: Mini HTTP Server Not Accessible #
If the status page does not load or shows an error, perform the following checks:
- Verify that the Mini HTTP Server service and port 8089 are allowed in the firewall:
- Go to Admin → Firewall → Services and confirm that the Mini HTTP service is listed and enabled.
- Then go to Admin → Firewall → Rules and ensure the corresponding rule allows traffic on port 8089.
- If you have an external firewall, make sure TCP port 8089 is open there as well.
- If the port is still blocked after these checks, run the following commands from your VitalPBX server terminal to manually enable it:
firewall-cmd --permanent --zone=public --add-port=8089/tcp
firewall-cmd --reload
After applying these commands, reload your browser and revisit https://your-domain:8089/httpstatus. The Mini HTTP Server should now be enabled and working properly.


