The Social Networks module allows administrators or tenants to configure the official social media links that will appear in the footer of the VitXi WebRTC interface.
This feature enhances branding and provides users with quick access to company or tenant-specific social pages.
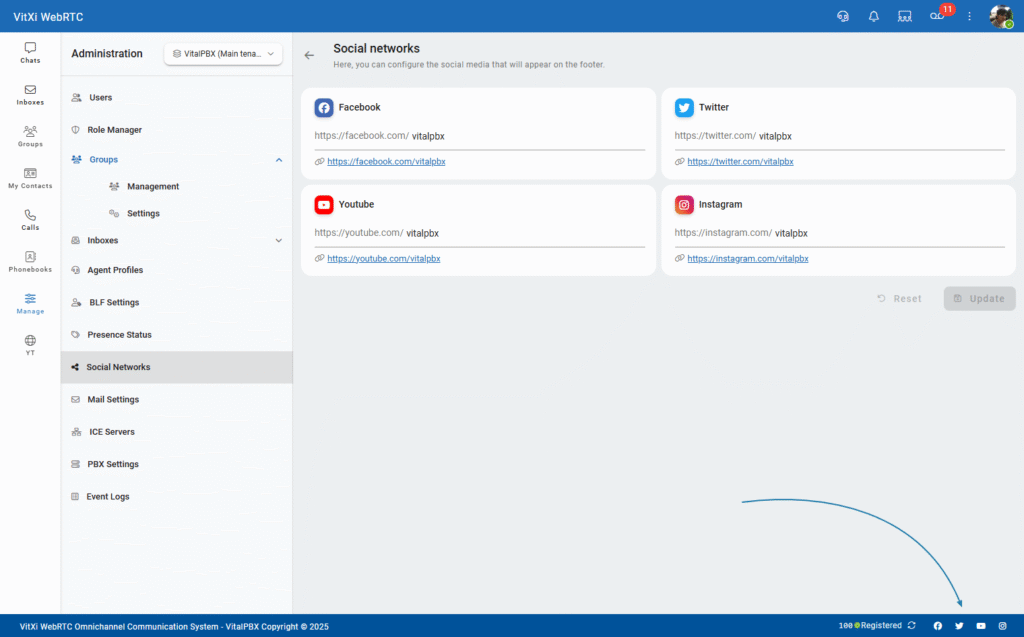
1. Access the Social Networks Module #
- Log in to the VitXi Administrator Panel.
- Navigate to Management → Social Networks.
You’ll see predefined fields for popular social platforms:
- YouTube
2. Configuring Social Media Accounts #
Each tenant can define their own social network usernames, allowing for customized branding and communication per organization.
To configure your social networks:
- Enter the username for each platform you want to display.
- Click Update to save the configuration.
- The configured social icons will appear in the bottom-right corner of the VitXi WebRTC interface footer, linking directly to your social profiles.
3. Notes and Best Practices #
- Each tenant can configure unique social links, ideal for multi-tenant environments.
- The system automatically builds the full URL based on the username provided.
Example:- Entering vitalpbx in the Facebook field will generate:
https://facebook.com/vitalpbx
- Entering vitalpbx in the Facebook field will generate:
- If a field is left blank, the corresponding icon will not appear in the footer.
- Links open in a new browser tab to maintain user session integrity.
Tip: Use this feature to link users directly to your company’s official social profiles, ensuring consistent branding across all tenants.


